フリーメールと言われる Gmail は使い慣れると振り分けが簡単にできたり、複数のメールが作れるので大変便利です。
Gmail は Google アカウントを作成することで、使うことができるようになります。
ここでは、Google アカウントを作成して Gmail を使う方法を説明します。
Google アカウントの作成方法
★Google アカウントの作成ページ★ Google Chromeのダウンロードページ
操作手順
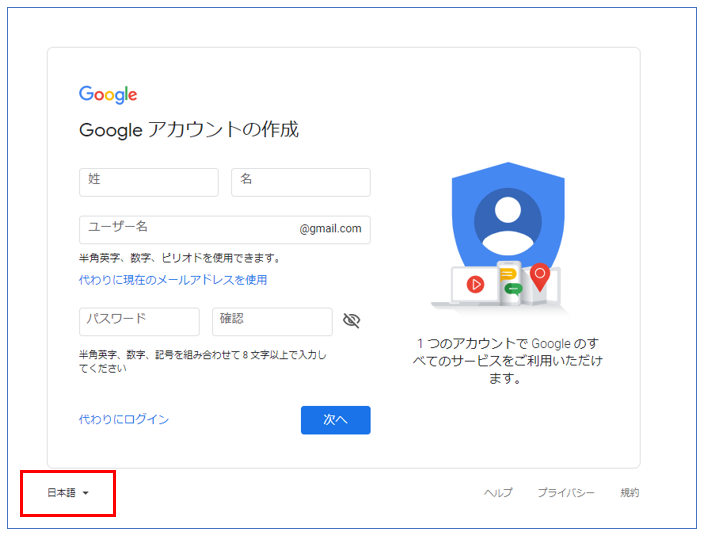
Google アカウントの作成ページが開きます。
左下にある言語が「日本語」であることを確認します。
実際に Google アカウントを作ってみます。
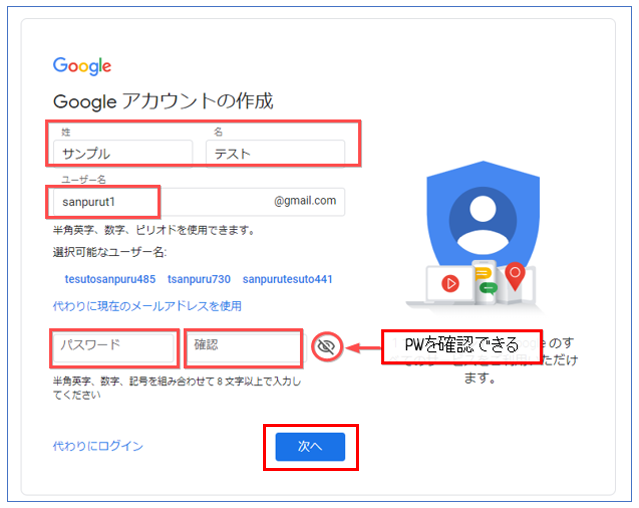
★ 項目に入力します
- 「姓・名」に名前を入力します。
- 「ユーザー名」は、自動的に入力されます。この「ユーザー名」は好きなものに変えることができます。
- 「パスワード」と「確認」に、8文字以上の半角英数、記号などのパスワードを入れます。
- 「目玉」のアイコンをクリックすると、パスワードを見ることができます。
- 「次へ」をクリックします。
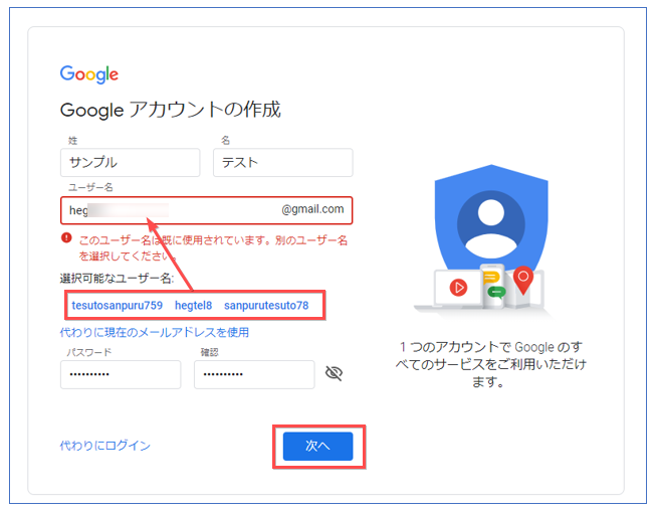
「ユーザー名」に好きな文字を入れられると言いましたが、その文字が他の人に使われている場合は次のような画面になります。
「選択可能なユーザー名」などから入れ替えてください。
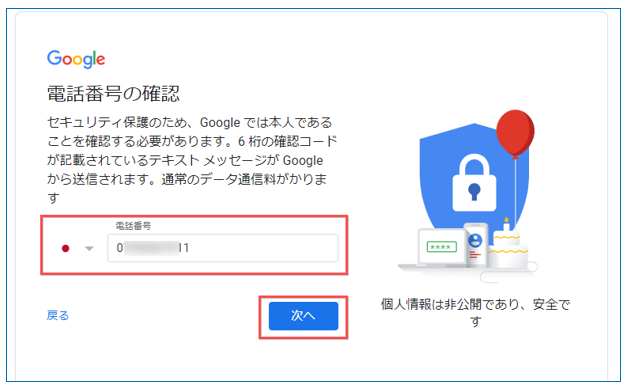
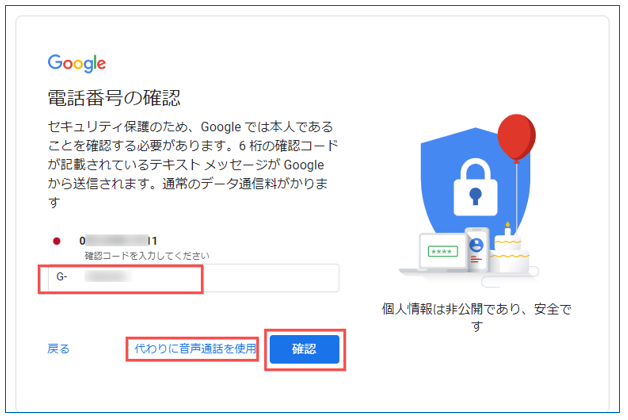
「電話番号の確認」画面になります。
携帯電話番号を入れます。(固定電話は「エラー」になりました。)
「次へ」をクリックします。
携帯電話に「確認コード」が送られてきます。
「G-」のあとに6桁の確認コードを入力して、「確認」をクリックします。
確認コードを音声で受け取りたい時は、「代わりに音声通話を使用」をクリックします。
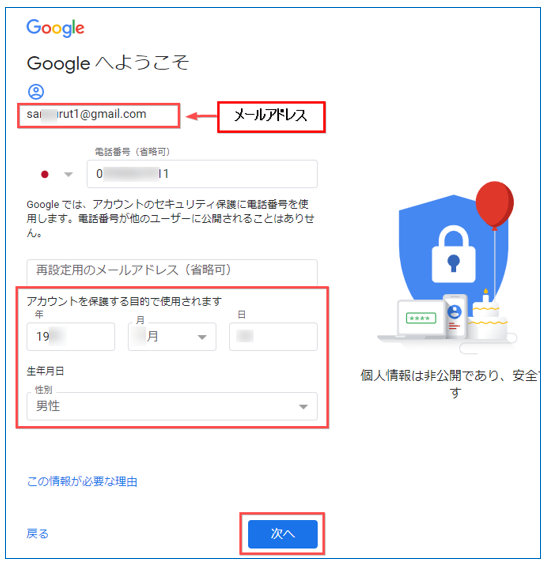
「Google へようこそ」という画面になります。
「次へ」をクリックします。
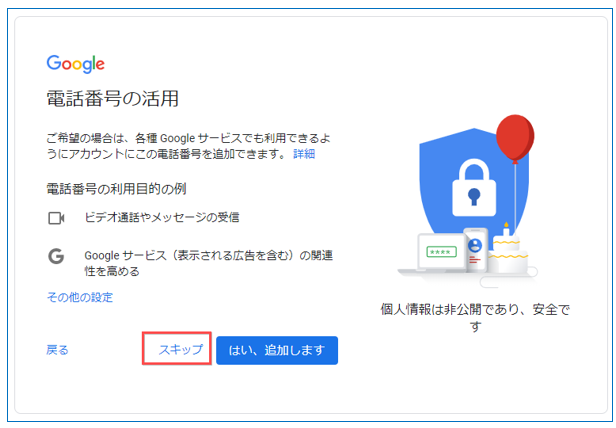
「電話番号の活用」この画面は、今回スキップします。
「プライバシーポリシーと利用規約」の画面は、下にスクロールすると「同意する」がでてきます。
「同意する」をクリックします。
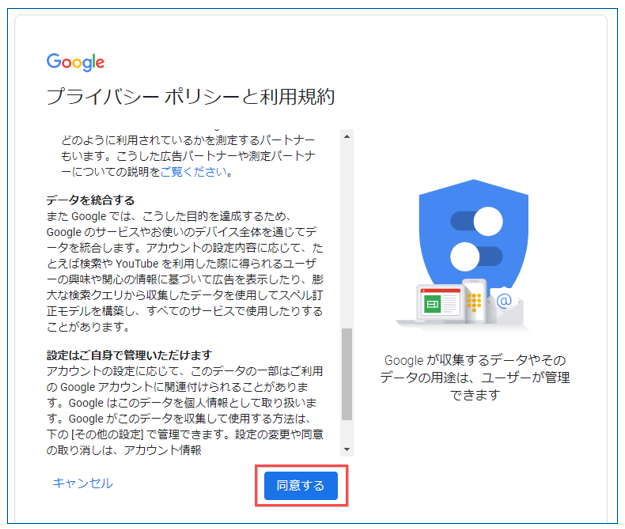
これで Google アカウントの作成ができました。
今回、Google アカウントを作りましたが、名前など本名でなくても作ることはできます。
ご自分で作成する時は、適当に作ると忘れてしまったりして、あとで困ることがあるので注意しましょう。
Gmail の開き方
★ Google アカウントでログインしている時
操作手順
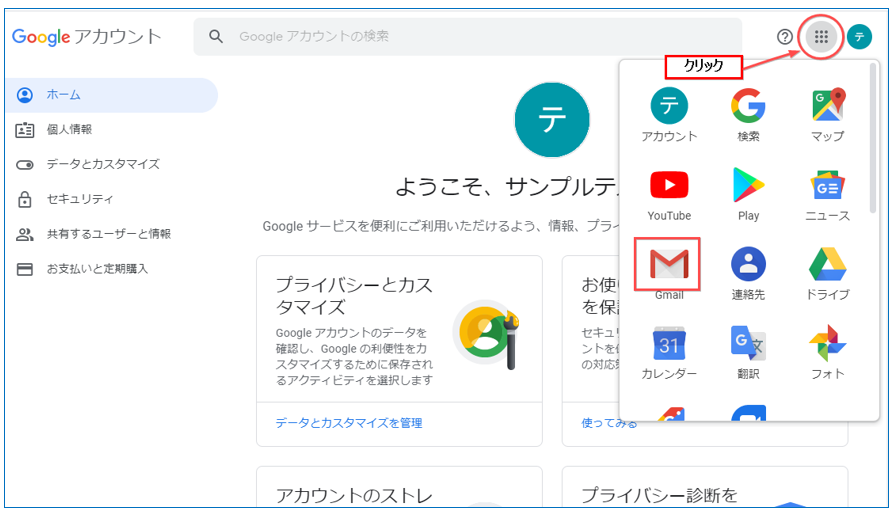
Gmail を開くには、Google アカウントの画面の右上にあるアイコンをクリックします。
Google のサービス項目が出てきますので、「Gmail」をクリックします。
「ビューの選択」で「OK」をクリックします。
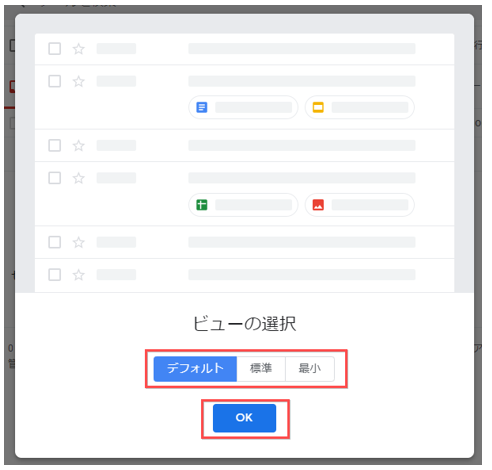
Gmail の画面が開きました。

Google アカウントでログインしていない時の Gmail の開き方
操作手順
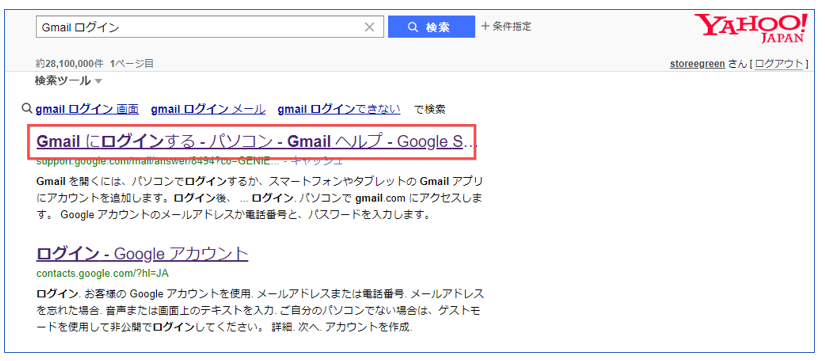
Yahoo などの検索欄に「Gmail ログイン」として「Enter」キーを押します。
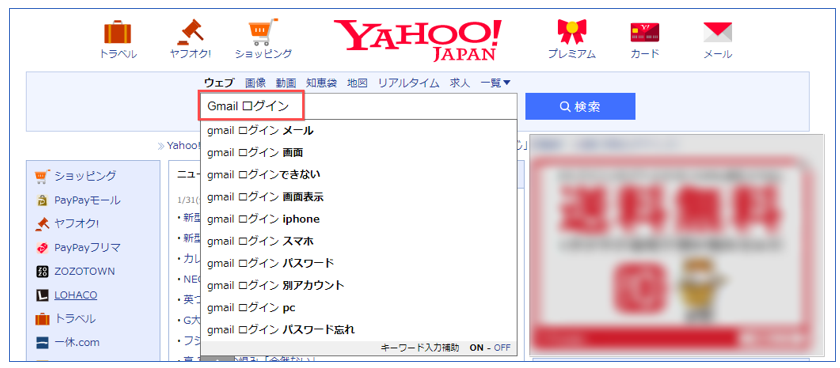
「Gmailにログイン」をクリックします。
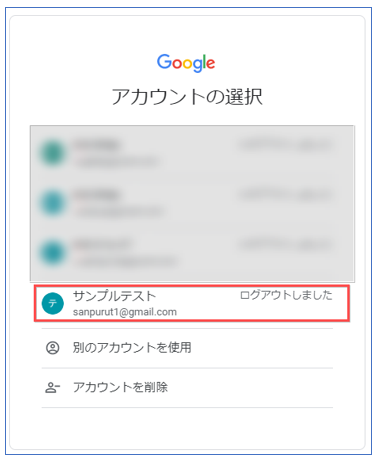
「Gmail にログインする」の画面にある、いずれかのアイコンをクリックします。

複数のアカウントがある時は、選択できます。
ここでは「サンプルテスト」をクリックします。
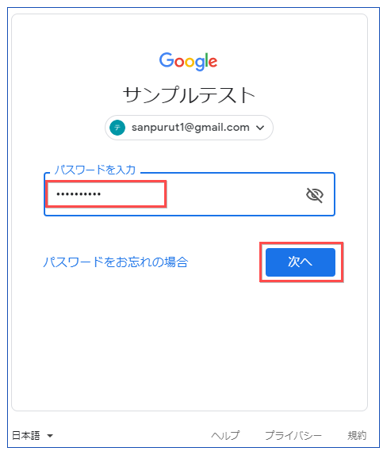
パスワードを入れて、「次へ」をクリックします。
Gmail が開きます。
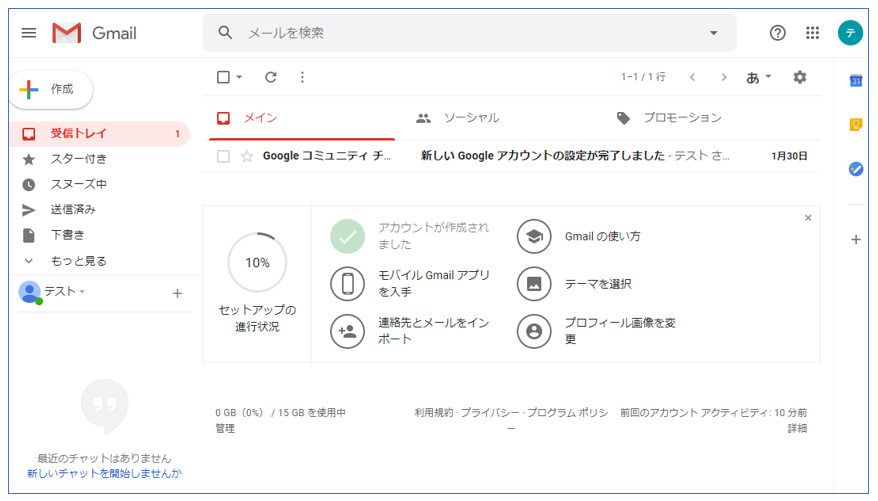
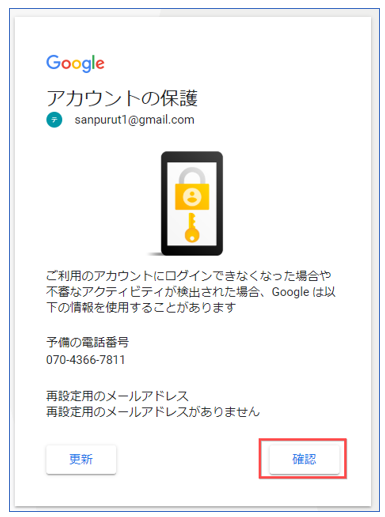
Gmail を最初に開く時だけ、次のような画面になる場合があります。
この時は、「確認」をクリックしてください。
Gmail をログアウトする方法
通常、gmail はログインしたままで良いのですが、ログアウトする場合の方法を説明します。
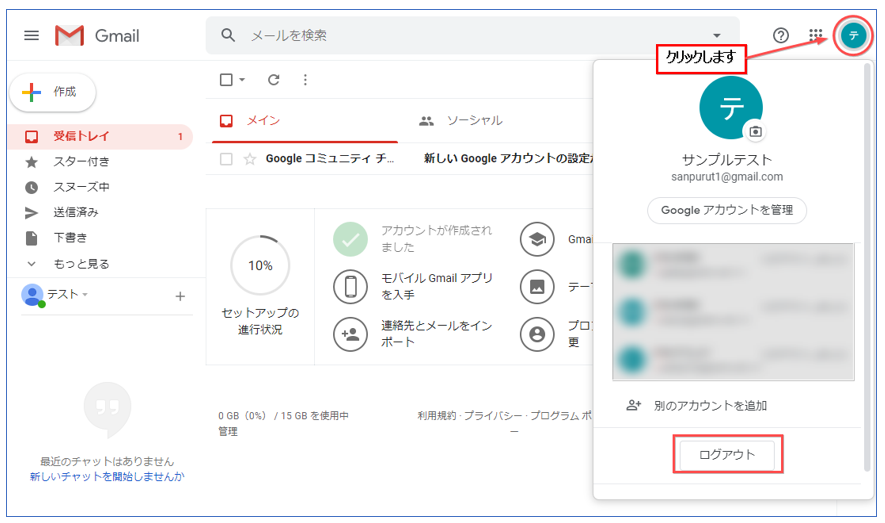
Gmail を開いた画面で右上のアイコンをクリックします。
メニューの下にある「ログアウト」をクリックすれば、Gmail をログアウトできます。
以上で「Google アカウントを作成して Gmail を使いたい」の説明を終わります。